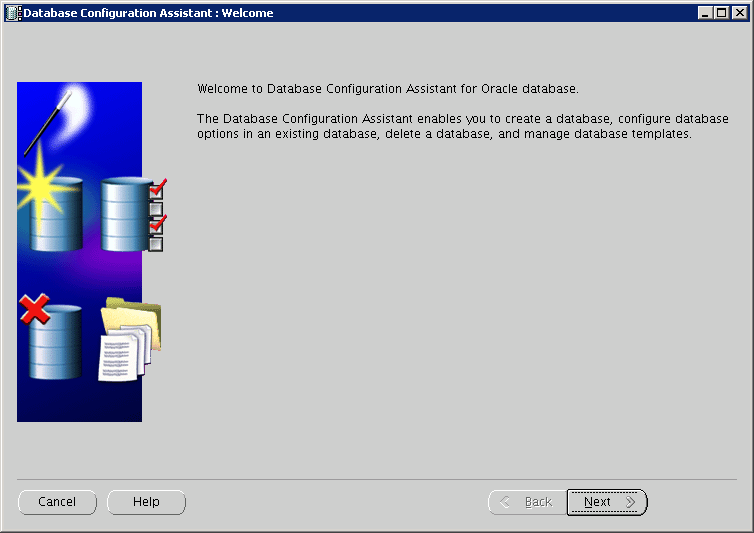
[Installing Oracle DataBase Server 11.2.0.3 on Oracle Linux 6.3]: Creating a Database Instance
Run the command:
$ dbca
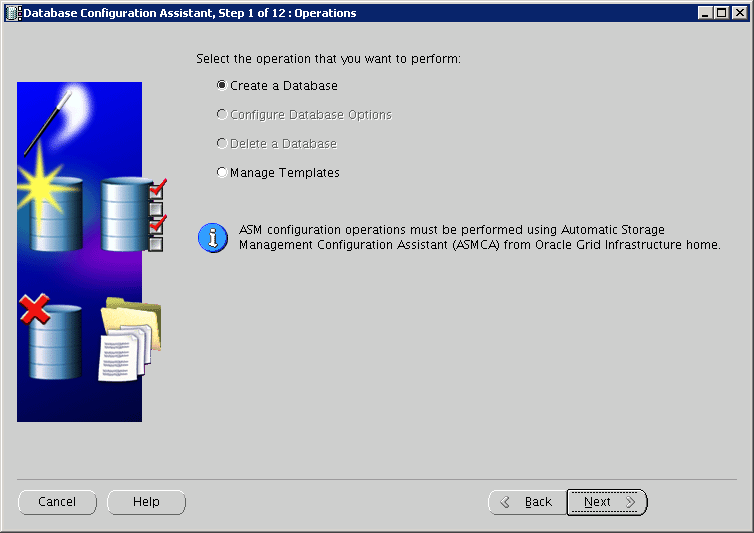
Step1: Operations
Step2: Database Templates
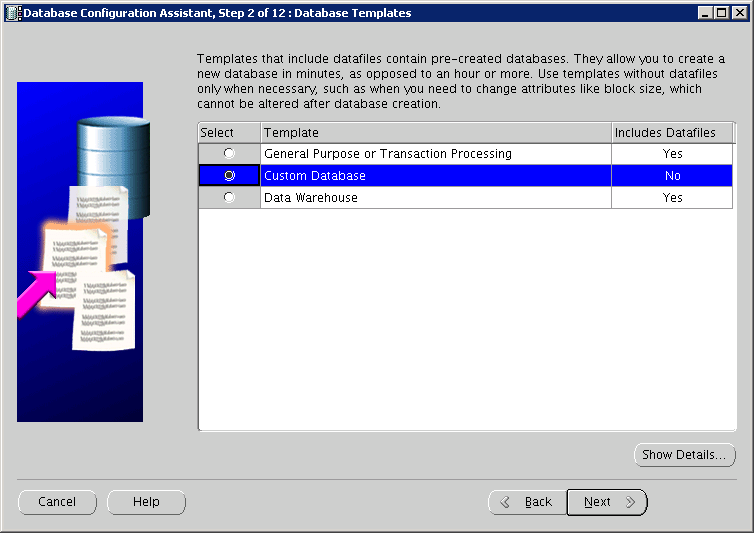
Oracle offers to create a database instance based on one of the prepared templates.

1. Online Transaction Processing (OLTP) - when you need to optimize data input into the database. Primarily insert and update operations.
2. General Purpose (custom database) - you are asked to choose the system parameters yourself. (The most optimal option).
3. Data Warehouse - when you need to optimize data operations in the database. Primarily read operations and analytical report generation.

If necessary, these parameters can be changed later in the pfile or spfile.
Step3: Database Identification
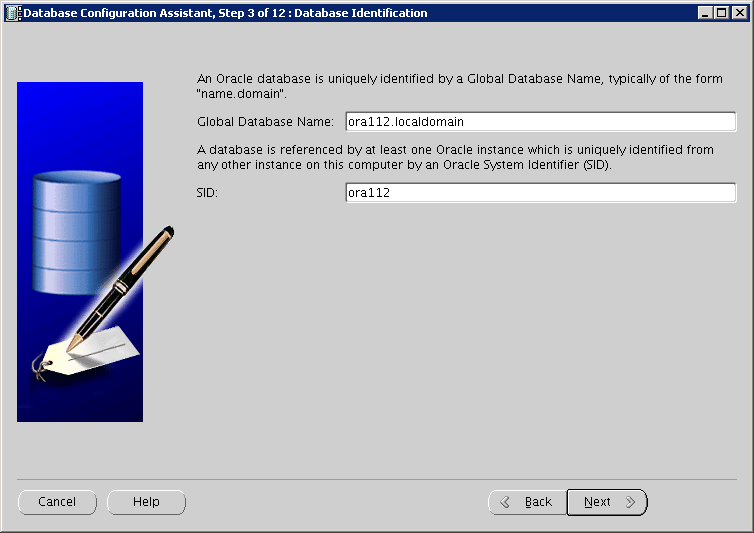
Oracle asks you to specify a name for the database instance being created.
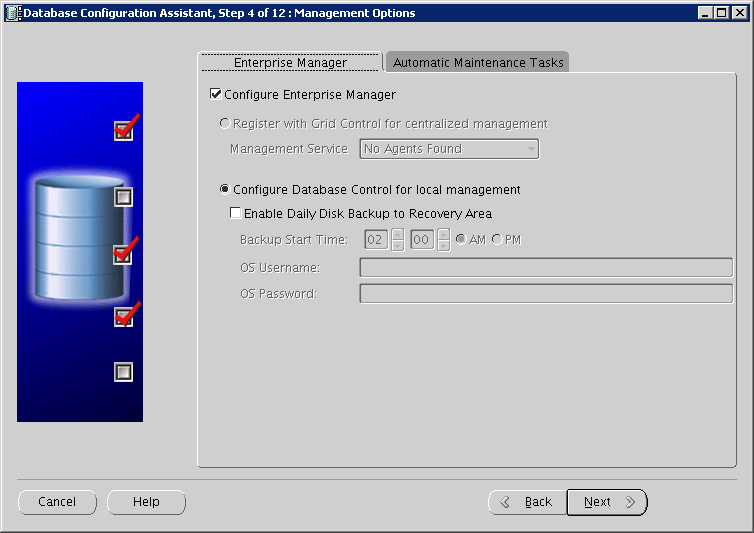
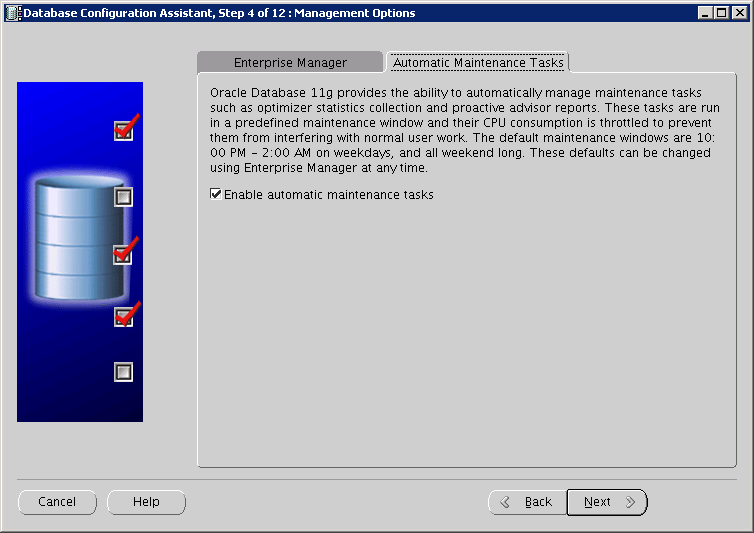
Step4: Management Options
Step 5: Database Credentials
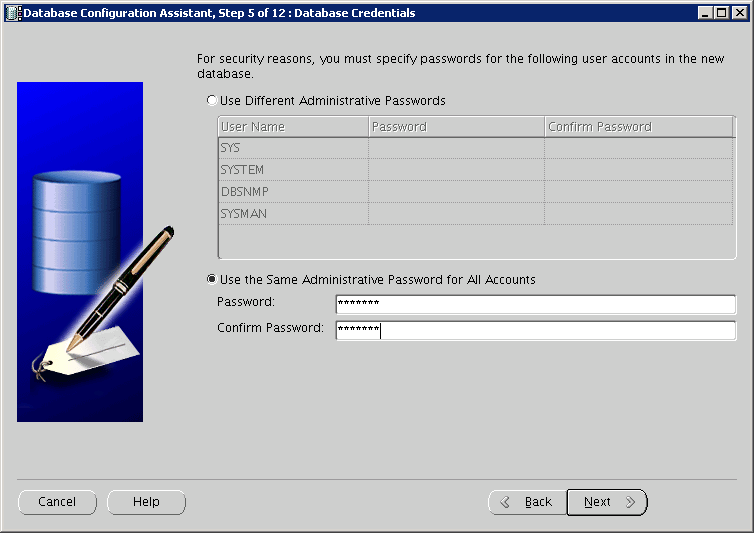
You can set an individual password for each of the system users being created, or specify 1 password
for all users listed in the table.


The password can be changed later.
Step 6: Database File Locations
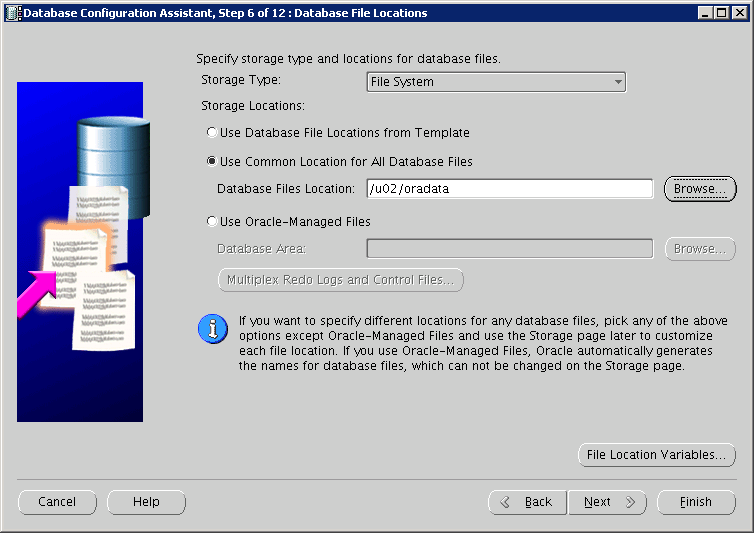
Next, you need to specify where the database will store its data files - i.e., the files that will actually contain the data.

/u02/oradata
Step 7: Recovery Configuration
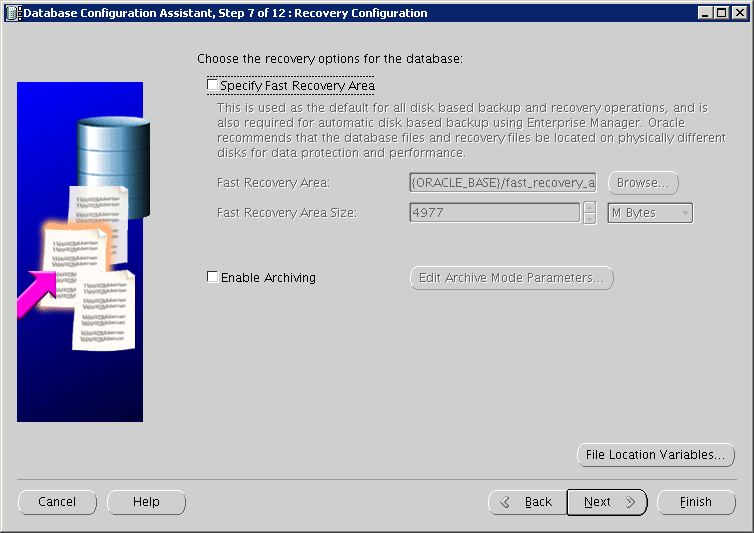
Fast Recovery Area (FRA) - define the location and size of the disk area where data backups (and archivelogs, if they are to be used and stored in FRA) will be stored.
Enable Archiving - enable the Archivelog database operation mode.

These parameters will be configured after the database installation is complete.
Step 8: Database Content
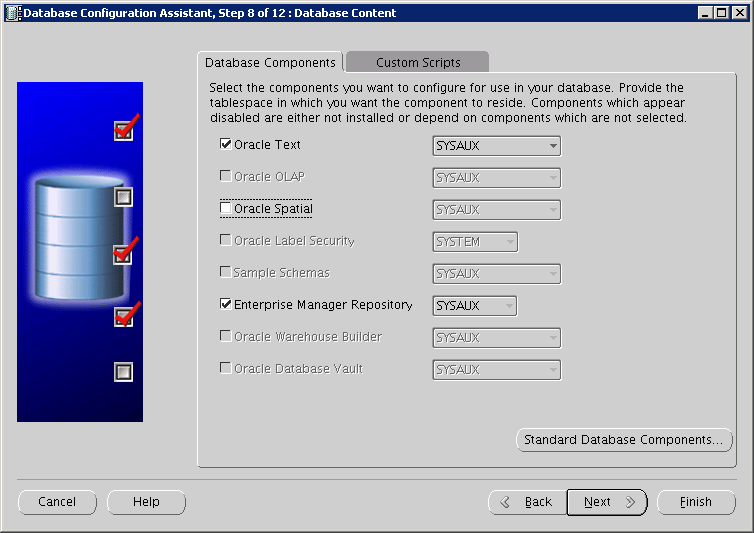
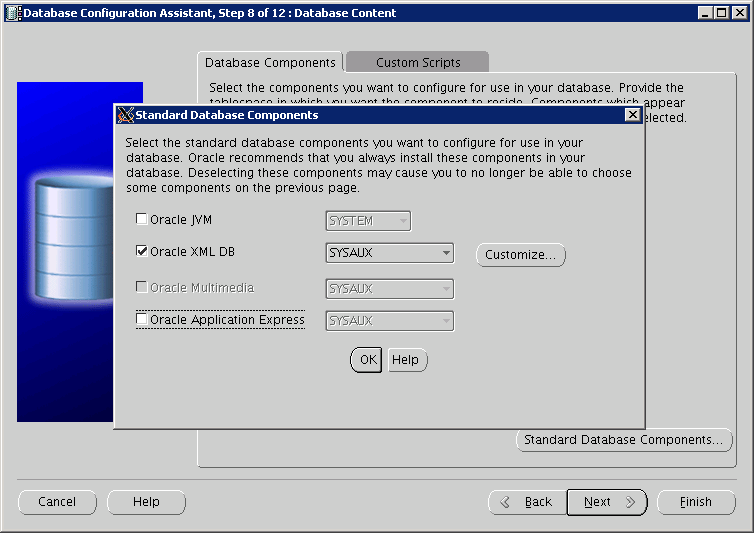

You are offered to choose additional components. If they are not intended to be used, it is better not to install them.

Oracle Text  - provides word indexing and search
http://docs.oracle.com/cd/B10501_01/text.920/a96517/cdefault.htm

Oracle OLAP - multidimensional data analysis for analytical applications.
http://www.oracle.com/technetwork/documentation/olap-101824.html

Oracle Spatial - for Geographic Information System (GIS) (Probably something like google maps)
http://docs.oracle.com/html/A88805_01/sdo_intr.htm

Oracle Multimedia - needed if you plan to store images, audio, video in the database.
http://docs.oracle.com/cd/E11882_01/appdev.112/e10777/ch_intr.htm#i610845

Oracle JVM - needed if you need to call programs (procedures, functions, etc.) written in Java directly inside the database.

Application Express - an application that allows you to easily create applications that work with the database using wizards. It makes sense to keep it only if you plan to work with it.
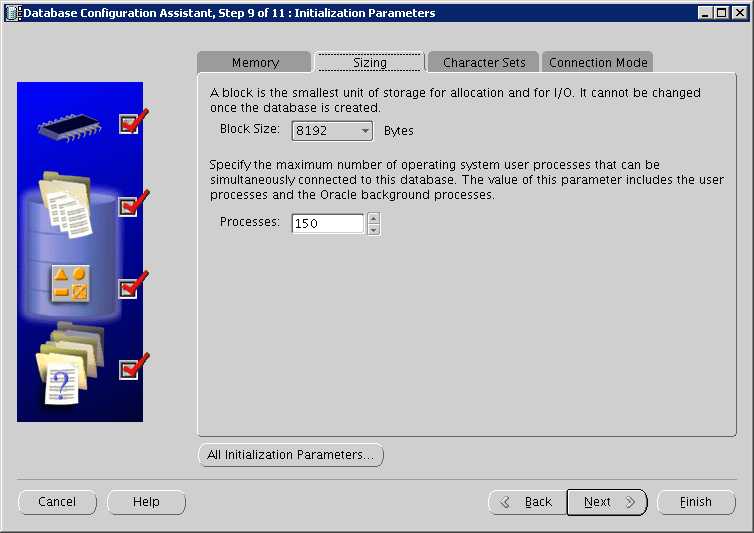
Step 9: Initialization Parameters: Memory
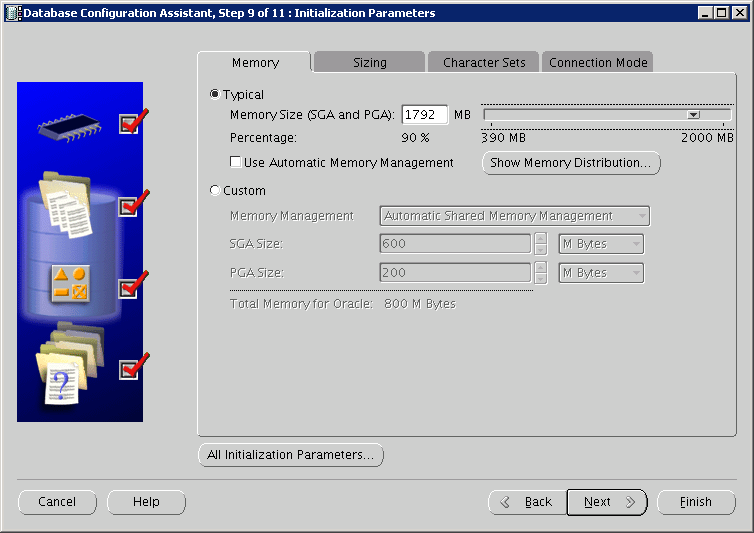
If you do not plan to create another database instance on the server, it makes sense to allocate more memory to the server. (> 90%).

(the image shows a setup with more RAM than specified in the virtual machine creation document)

You can also set the system parameters of the database being created yourself.
Step 9: Initialization Parameters: Character sets
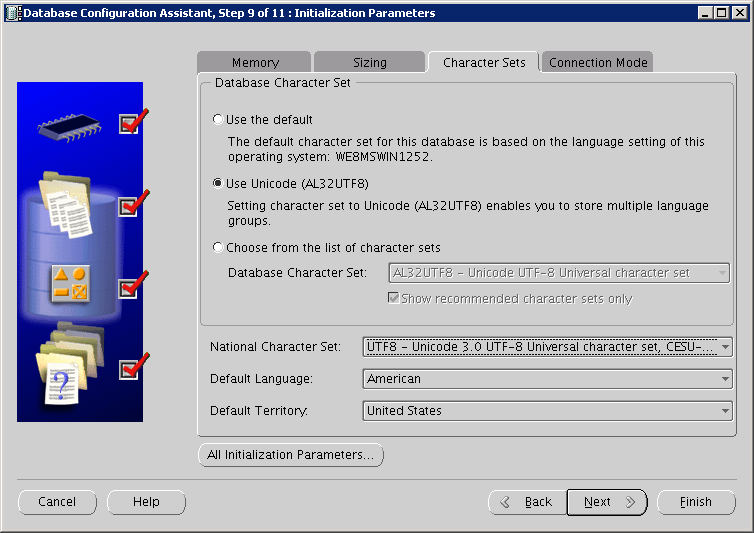
If the database will use Cyrillic characters, it is recommended to choose a character set that supports this feature. Unicode, where each character is encoded with 2 bytes, is quite suitable for this task.
Step 9: Initialization Parameters: Connection Mode
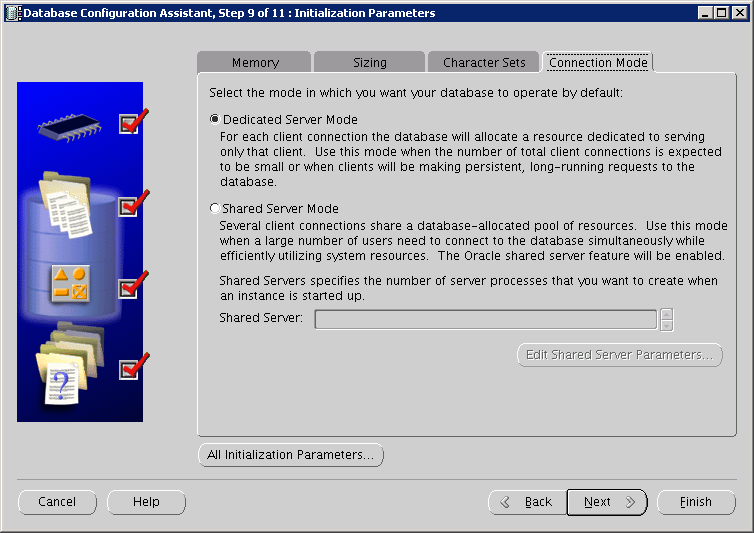
- Dedicated Server Mode - a separate service is created for each connection.
- Shared Server Mode - a connection pool is created, and all clients connect to the database through this pool. It makes sense to use only when server resources are insufficient to create dedicated services.
Step 10: Initialization Parameters: DataBase Storage
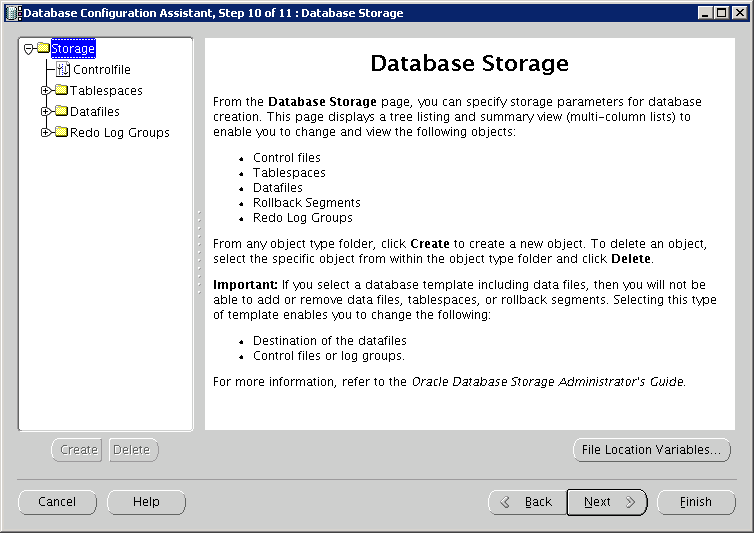
This window allows you to add tablespaces by clicking the Add button. Some tablespaces are created automatically, and by expanding the items in the navigation window on the left and selecting elements, you can change the sizes and characteristics of these tablespaces.
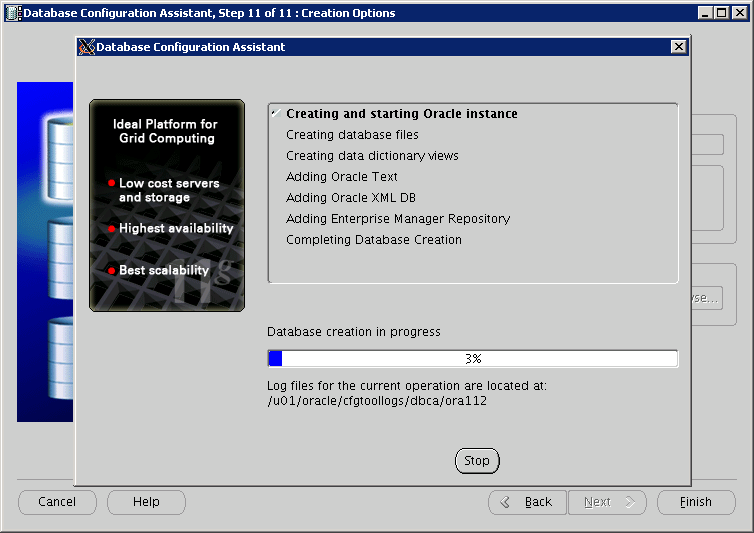
Step 11: Creation Options
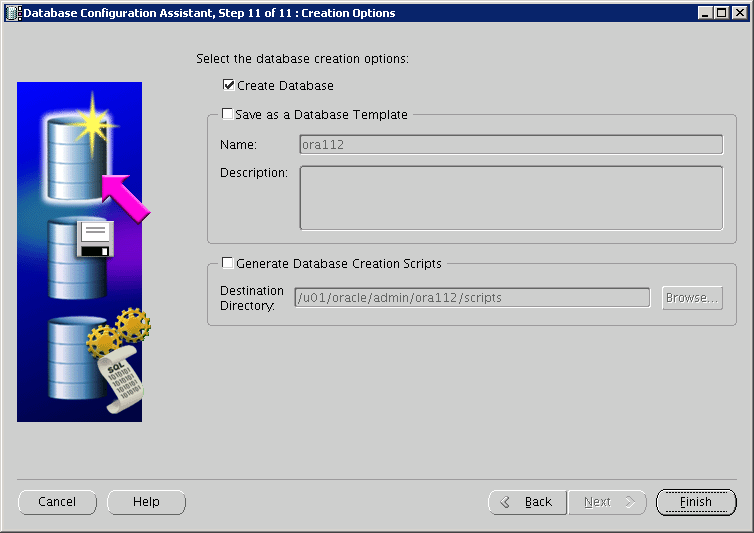
You can create the database, save this configuration as a template for future use, and optionally create a script for database creation, for example, if you need to create the database later.
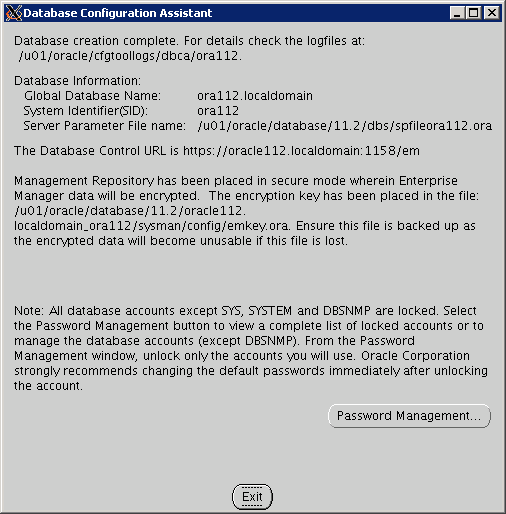
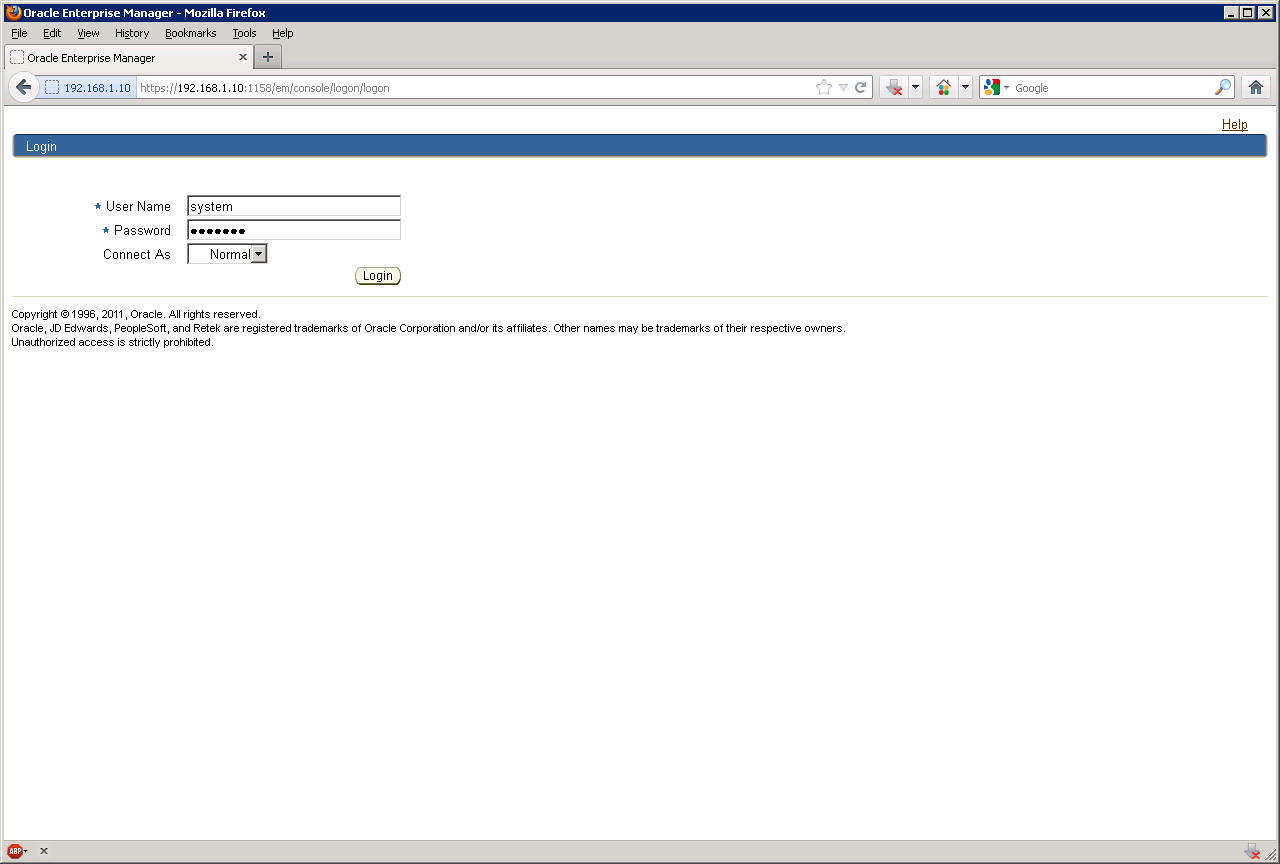
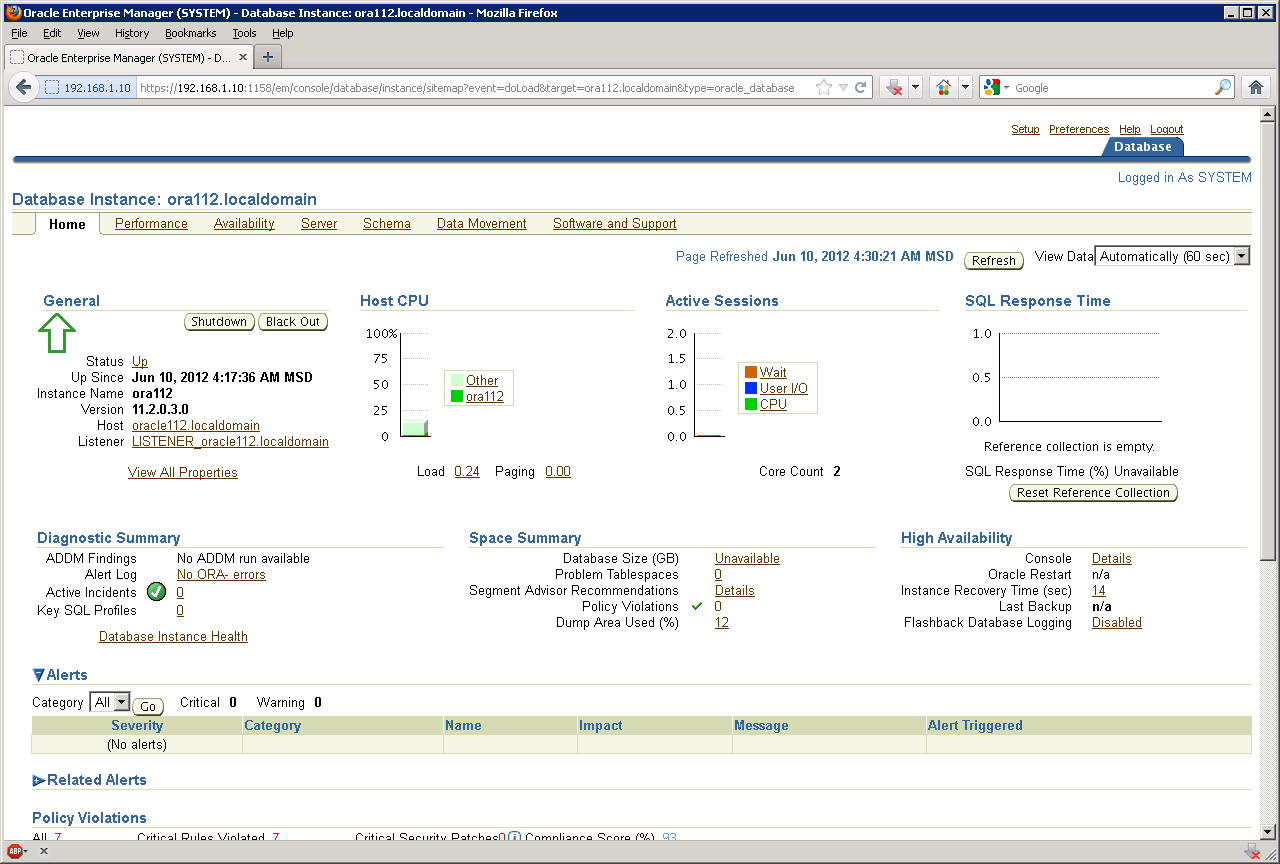
You can connect to Enterprise Manager at:
https://192.168.1.10:1158/em